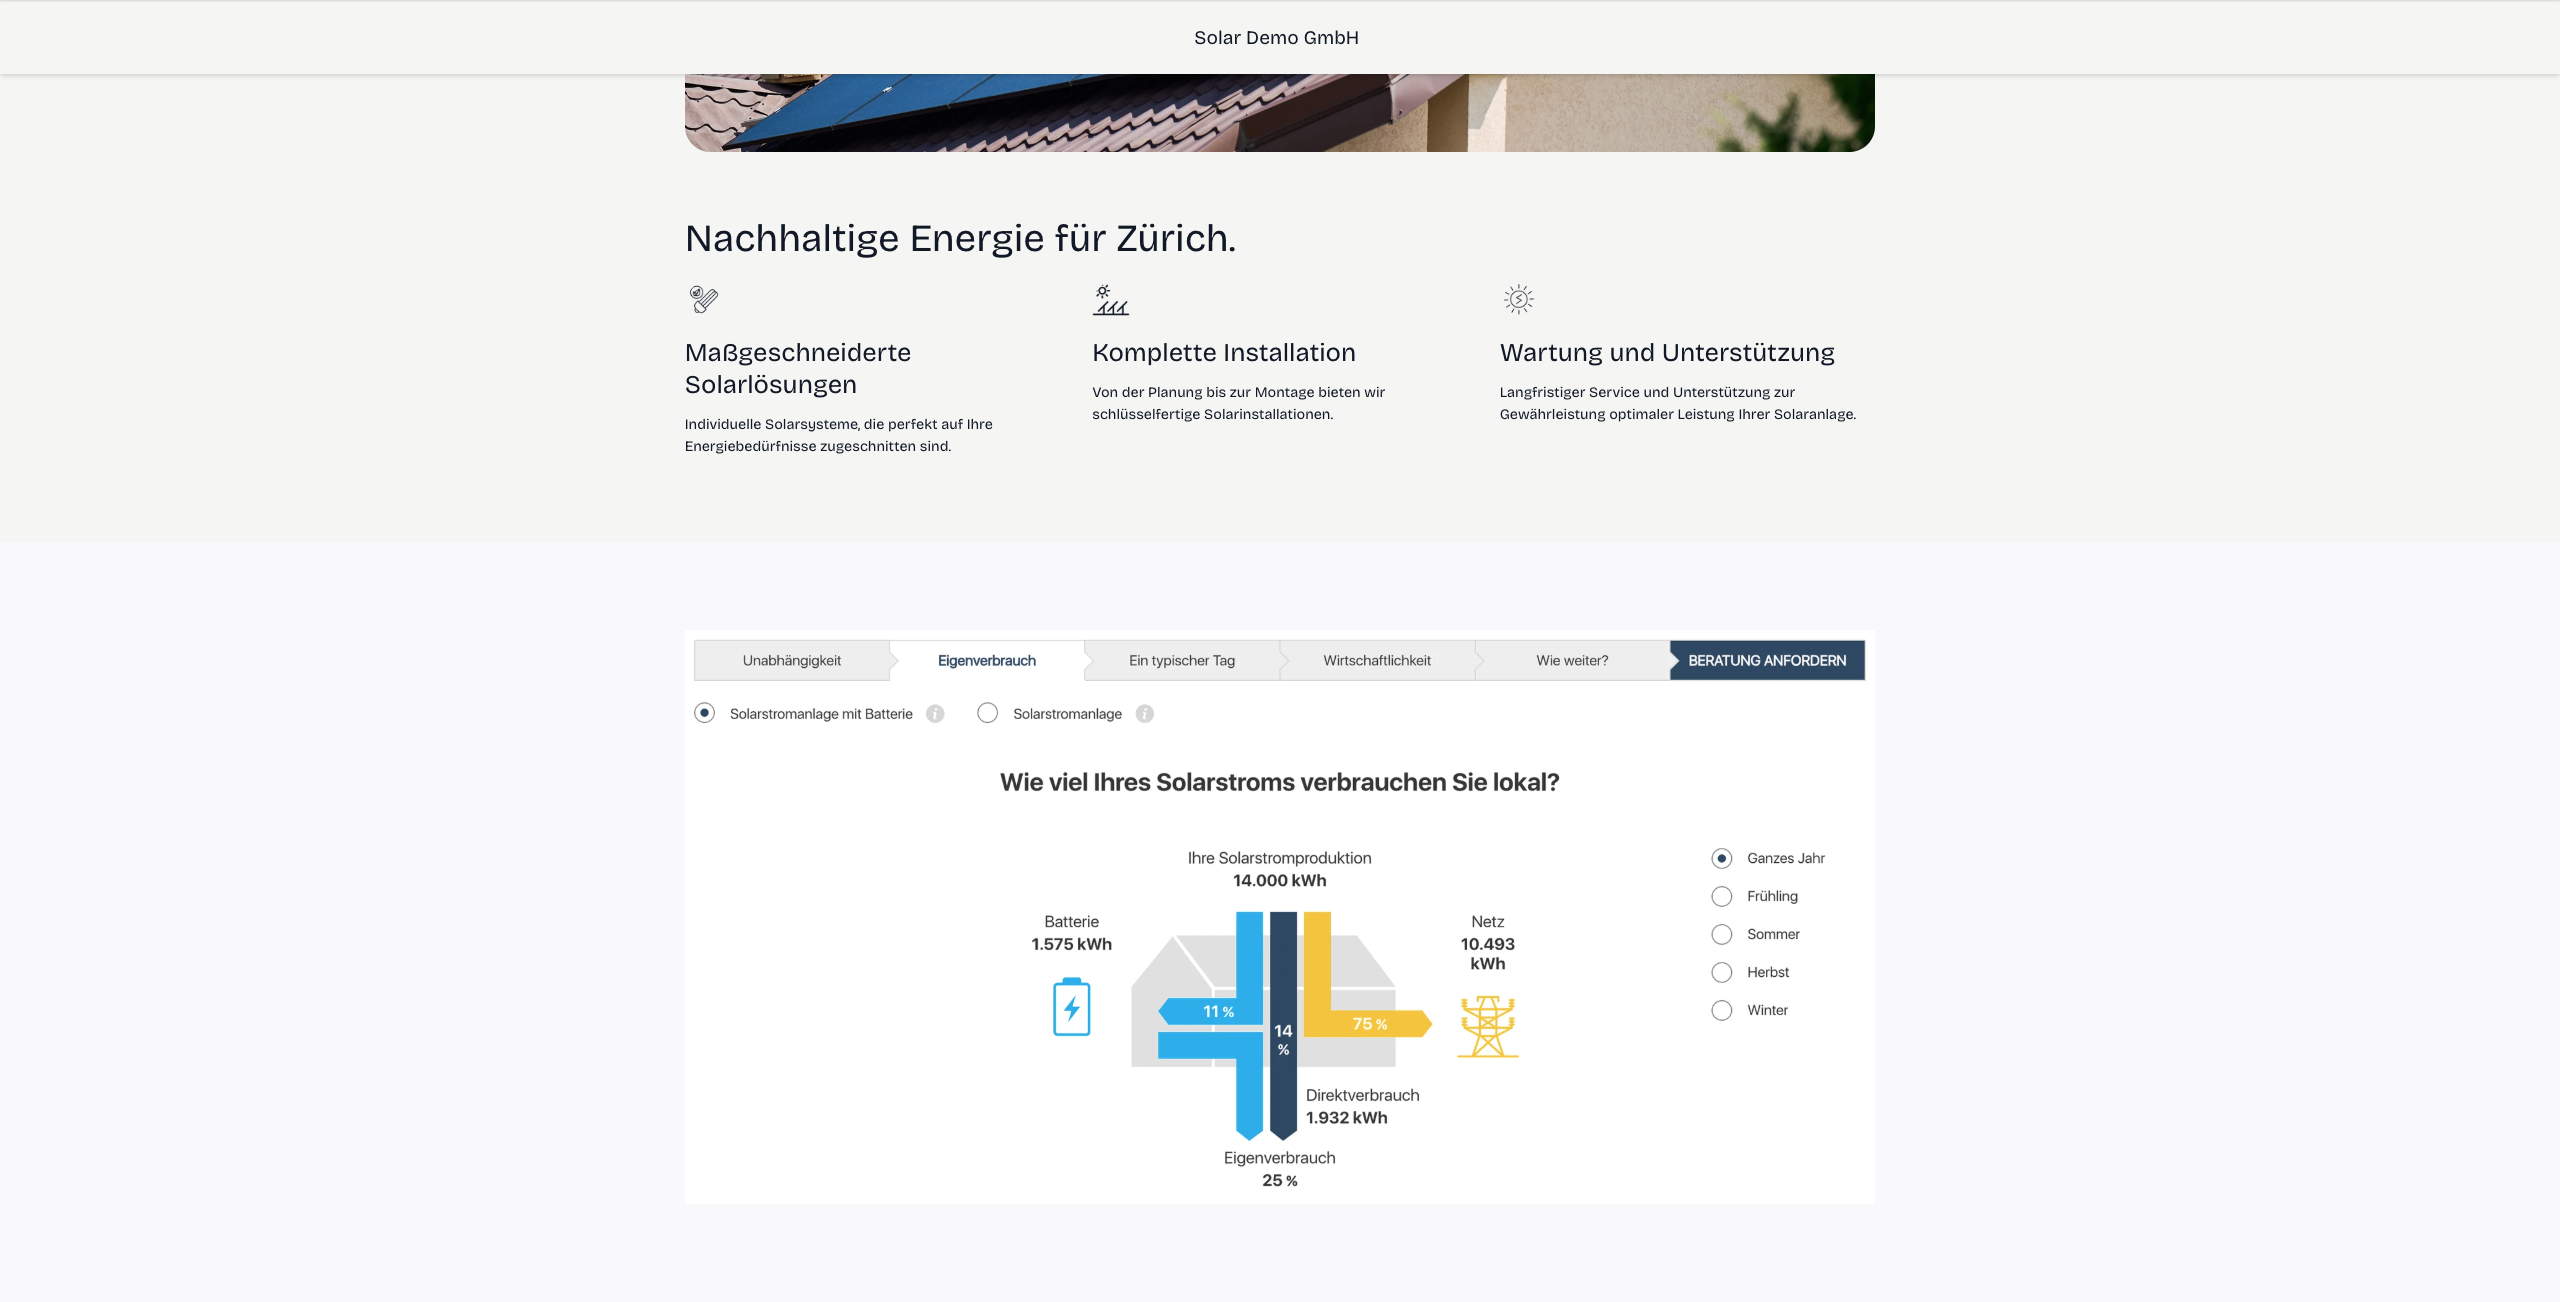
Solar Calculator
Configure Components and Prices
There are two different ways to configure the prices in the Solar Calculator. Choose the appropriate video depending on whether you are using the Solar Calculator in combination with Solarexperte or using it as a standalone tool for lead generation:
Solar Calculator with Solar Expert
Solar Calculator without Solar Expert
- In the Solar Calculator section of the Library menu, you can edit your solar calculator system
- The "Solar Calculator System" acts like a project template, specifically for all inquiries made through the solar calculator
- The components configured in the Solar Calculator System are also shown in the PDF summary
- The solar calculator determines the investment in three steps:
- It first estimates the required system size
- Then it calculates the costs for each individual component in the system (modules, inverters, installation, etc.)
- Finally, it adds up all component costs to produce the total amount
Reminder: Add components to the Library
Embedding the Solar Calculator on your Website
Successful integration of the solar calculator into your website and marketing is essential for effective lead generation. Only if users can easily find the calculator and recognize it as a simple way to contact you can it reach its full potential.
Use Eturnity Solar Calculator as a Standalone App
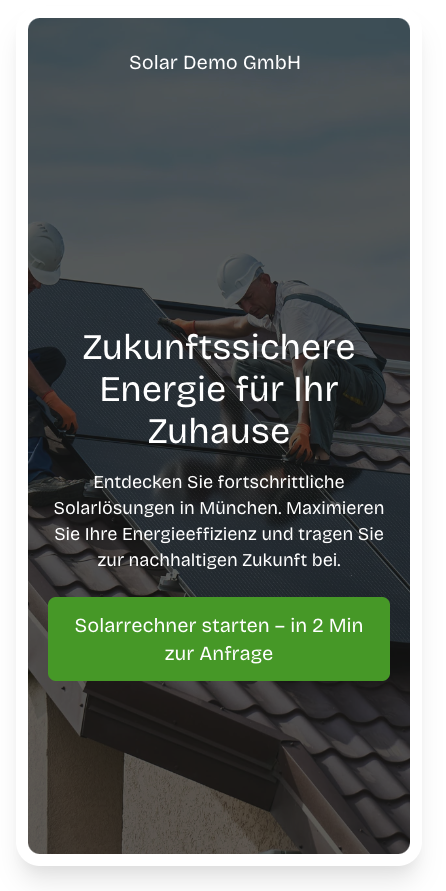
The simplest and most recommended option for most customers is the standalone integration. In this scenario, a clearly visible button is placed on your website—ideally in a prominent location, e.g. on the homepage or any sections with specific information about PV systems.
A click on this button opens the Solar Calculator in a new tab.
Important: The button should clearly communicate that this is where the PV inquiry process begins—using phrases such as “Start Solar Calculator – get an inquiry in 2 min” or “Free initial estimate – get personal advice.”
This integration requires no programming knowledge—you only need the appropriate link to associate with the button. We will provide your individual URL after the setup.

Instructions for embedding as a dynamic iFrame
The Eturnity Solar Calculator features smart programming that automatically determines and adjusts the optimal iFrame size (iFrame‑Resizer). This ensures seamless integration and smooth display on your website.
Implementation on your website, using your individual URL (which we will provide after setup):
- Ensure that the framework " jQuery" is present and loaded
- Load the script https://solarrechner.eturnity.io/muster_solar/static/iframe-resizer-client.js (replace "muster_solar" with your identificator) function iFrame_Resizer() { wp_register_script( 'iFrameResizer',
'https://solarrechner.eturnity.io/muster_solar/static/iframe-resizer-client.js',
array(), '', true ); wp_enqueue_script( 'iFrameResizer' ); }add_action(
'wp_enqueue_scripts', 'iFrame_Resizer' ); - Integration of iframe with the following code: iframe id="iframe-eturnity" src="https://solarrechner.eturnity.io/example_energy/?lang=de-de&embedded=true&offsettop=120" frameborder="0"></iframe> (The value of the offset should be the same as the sticky header, in case you have one. The value is optional.)
- Start the script with the following code:
<script>
jQuery(document).ready(function()
{jQuery("#iframe-eturnity").iFrameResize({ log: true, checkOrigin: false });
});
(jQuery);
</script>